
Migrating a WordPress site to a new host can seem complicated, but with the All-in-One WP Migration plugin, it’s simple and safe. This plugin handles your database, media files, plugins, and themes, making the migration process fast and hassle-free.
Why Use All-in-One WP Migration?
All-in-One WP Migration is one of the most popular migration plugins for WordPress. Here’s why:
- Supports migration of the entire site, including database, media, plugins, and themes.
- Handles serialization and avoids common migration errors.
- Easy to use, even for beginners—no coding required.
- Compatible with most hosting providers and WordPress versions.
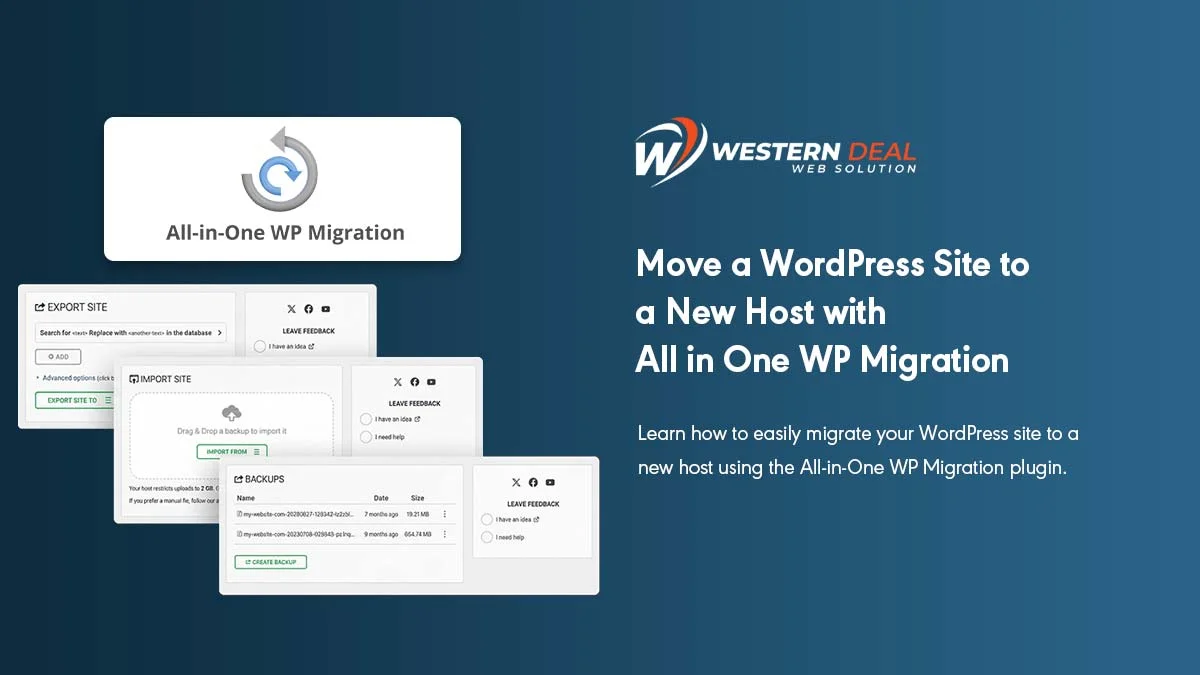
Step 1: Install All-in-One WP Migration

- Login to your WordPress admin dashboard.
- Go to Plugins > Add New.
- Search for All-in-One WP Migration.
- Click Install Now and then Activate.
Step 2: Export Your WordPress Site

Once the plugin is activated, follow these steps to export your site:
- Go to All-in-One WP Migration > Export.
- Click Export To and select File.
- The plugin will generate a backup of your site.
- Click Download to save the backup to your computer.
Step 3: Install WordPress on Your New Host
Before importing your site, make sure WordPress is installed on the new host. Most hosting providers offer one-click WordPress installations.
Step 4: Install All-in-One WP Migration on New Site
- Login to your WordPress dashboard on the new host.
- Go to Plugins > Add New.
- Search for All-in-One WP Migration and install it.
- Activate the plugin.
Step 5: Import Your WordPress Site
Now you’re ready to migrate your site:
- Go to All-in-One WP Migration > Import.
- Click Import From > File.
- Select the backup file you downloaded from the old host.
- The plugin will upload your site and replace the existing WordPress installation.
- Once the import is complete, click Finish.
Important Note:
After importing, you may need to reset permalinks. Go to Settings > Permalinks and click Save Changes to ensure links work correctly.
Step 6: Verify Your Site
- Check your pages, posts, images, and plugins to make sure everything migrated correctly.
- Test forms, menus, and other interactive features.
- Clear cache if you use a caching plugin to ensure the site displays correctly.
Optional: Upgrade All-in-One WP Migration (Pro)
The free version of the plugin has a file size limit for imports (usually 512 MB). If your site is larger, consider the All-in-One WP Migration Pro extension, which allows:
- Larger site imports and exports.
- Cloud storage integration (Google Drive, Dropbox, OneDrive, etc.).
- Faster migration for high-traffic or complex sites.
Conclusion
Migrating your WordPress site with All-in-One WP Migration is simple, secure, and beginner-friendly. By following these steps, you can move your site to a new host without losing data or functionality. For larger or complex sites, the Pro version offers extra convenience and features.
Start migrating your WordPress site today and enjoy a smooth transition to your new hosting environment!
