
Step 1: Install the LiveChat plugin from WordPress.org
- Go to your WordPress admin dashboard, then find the “Plugins” menu.
- Click on “Add New” and search for “LiveChat”.
- Activate the live chat plugin through the Plugins menu in WordPress.
- Click the LiveChat menu on the left.
- Create a new account or sign-in if you already have a LiveChat account.
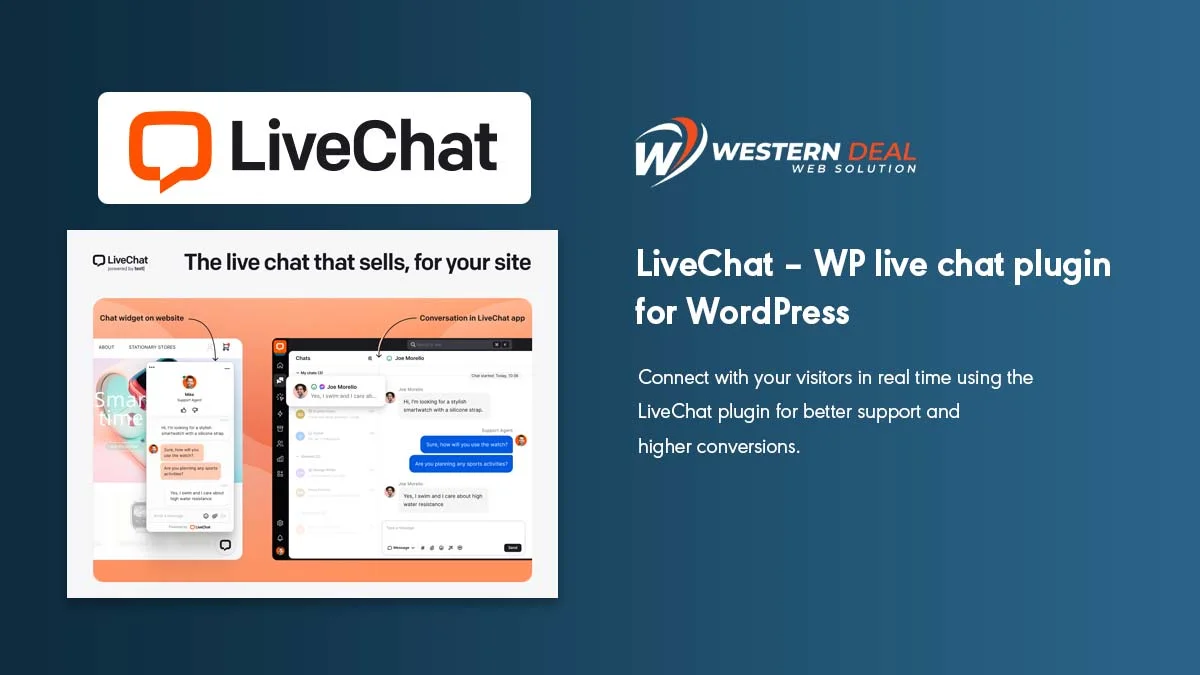
Step 2: Create your free LiveChat account

Once you’ve installed and activated the plugin, head to the LiveChat service website, where you can create your account by entering a few simple details. Again, you get a 30-day free trial with no credit card required – so you won’t need to enter any payment information:

In the next step, you’ll need to enter your website URL, as well as what you plan on using your WordPress live chat box for:
Step 3: Connect LiveChat plugin to your LiveChat account

LIVE CHAT FEATURES
- Chat on multiple websites – connect all of your websites to a single LiveChat account, and keep the chat widget consistent across all the pages.
- Facebook Messenger – keep all your communication in one place and reply to new messages right in the live chat application thanks to the Messenger integration.
- Chat via a direct live chat link – invite customers to chat by sending a link in your emails, social media, or website.
- Canned responses – improve your efficiency and help customers faster thanks to predefined answers to the most common questions.
- Chat widget customization – enrich your chat widget with neatly looking eye-catchers, chat buttons, and more. Choose a theme, pick a color, display your logo, and add a lot more tweaks to your chat widget.
- File upload support – send and receive files via the live chat widget to better understand your customers.
- Support and agent ratings – get a better understanding of visitor satisfaction by allowing them to rate a chat during or after the live chat session.
- Visitor tracking – our live chat widget keeps track of your customers’ location and shows what page they are on, where they are from, and more.
- Ticket form – collect the tickets with messages that customers leave when you’re away and answer them when you’re back online.
- Chat surveys – add surveys to the live chat window and gather customer information and insights at the beginning and end of each chat.
- Multi-channel communications – provide instant customer service across several channels: a chat widget on your website, Messenger, Apple Business Chat, and more.
- Chat log and data exporting – browse through comments reflecting customers’ needs and expectations. Store, access, and export messages at any time using our API.
- Mobile apps – chat on the go. Don’t make your customers wait and talk to them wherever you are, thanks to our iOS and Android apps.
- Reports and analytics – optimize the communication with your visitors thanks to the built-in live chat and ticket metrics. Access reports through the API and export gathered data to the CSV format.
- Chat assignment – assign conversations to the available agents automatically. Alternatively, they can go straight to the queue, and it is up to you and your team to decide when to pick them up.
- Tags and keywords – organize and categorize chats to find common issues and questions.
- Chat transcripts – browse the conversations reflecting customers’ needs and expectations anytime, with no expiry date.
- User groups – group teammates by their expertise and assign the most specialized groups to specific pages, e.g., your sales team can handle chats on your pricing page.
- Chat transfer – transfer chats to other agents when necessary. It’s extra handy when you encounter cases that only a particular member of the team can handle.
- Sales integration – use our ecommerce integrations to see which sales were assisted by live chat.
