Whether you have a simple blog or a business website, the “contact us” page is compulsory. And, there are dozens of Contact Form plugins available, when it comes to WordPress.
In this post, I will be explaining how you can store the Contact Form entries in a Google Sheet using a plugin like CF7, WPForms, Gravity Forms, Ninja Forms.
If you are using Elegant themes (Divi) or Avada theme and created your forms through DIVI Contact Form Module or AVADA Forms or Elementor Forms then also solution to send Entries to Google Sheet is available
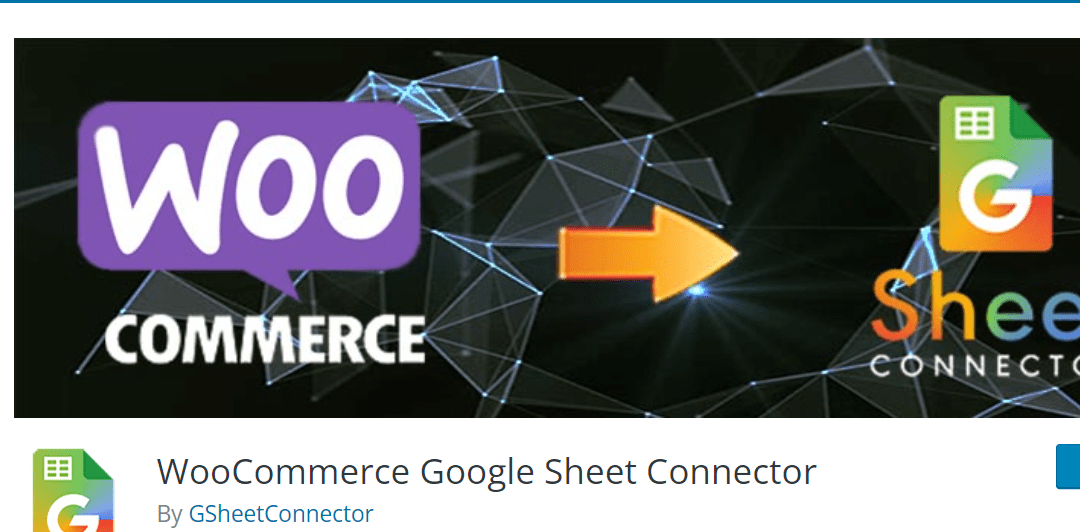
WooCommerce Google Sheet Connector is a powerful, flexible, and best connector plugin, a bridge between WooCommerce and Google Sheet. GSheetConnector For the WooCommerceplugin sync with your WooCommerce Orders, Products, Customers, Coupons, and Events to a single Google Spreadsheet.
Installing of WooCommerce Google Sheet Addon is simple like other plugins, After Installing the plugin, it requires to authenticate with Google, which is safe and secure.
Navigate to WooCommerce ⇒ Google Sheet → Integration Tab
You will see two methods to connect with Google, For quick connection use (Auto Google API Configuration)
Click on Sign in with Google to get the Auth Code, It requires enabling the Permissions of Google Drive and Google Sheets Manually.
You must have to allow the permissions, then only orders will be sent to google sheets, without permission it will not work.
Once you click on Continue, you will get a code, copy the code and paste in the box and click on Save & Authenticate
Once you Save, it will reload and show you a connected email account, and you are done with the google integration.
Then Navigate to WooCommerce ⇒ Google Sheet → Integration Tab to configure.
Select the Spreadsheet, Select the Sheet Names below and you are done.
Now Whenever you get a new order in real-time, the order details will be sent to google sheet.
Benefits of WooCommerce Google Sheet Connector PRO version
You’ll get the Click here to fetch button to get all the past records.
More Sheets will be created, like All Orders to get all the Status details in one sheet, which can be sortable easily.
Freeze Header which helps to scroll the large sheets easily
Various Header Color Options
Various Odd/Even Color Options
Sync Order and Download Order Options
Compatible with multisite and multi-language sites.
Step 1: Install the LiveChat plugin from WordPress.org
Go to your WordPress admin dashboard, then find the “Plugins” menu.
Click on “Add New” and search for “LiveChat”.
Activate the live chat plugin through the Plugins menu in WordPress.
Click the LiveChat menu on the left.
Create a new account or sign-in if you already have a LiveChat account.
Step 2: Create your free LiveChat account
Once you’ve installed and activated the plugin, head to the LiveChat service website, where you can create your account by entering a few simple details. Again, you get a 30-day free trial with no credit card required – so you won’t need to enter any payment information:
In the next step, you’ll need to enter your website URL, as well as what you plan on using your WordPress live chat box for:
Step 3: Connect LiveChat plugin to your LiveChat account
LIVE CHAT FEATURES
Chat on multiple websites – connect all of your websites to a single LiveChat account, and keep the chat widget consistent across all the pages.
Facebook Messenger – keep all your communication in one place and reply to new messages right in the live chat application thanks to the Messenger integration.
Chat via a direct live chat link – invite customers to chat by sending a link in your emails, social media, or website.
Canned responses – improve your efficiency and help customers faster thanks to predefined answers to the most common questions.
Chat widget customization – enrich your chat widget with neatly looking eye-catchers, chat buttons, and more. Choose a theme, pick a color, display your logo, and add a lot more tweaks to your chat widget.
File upload support – send and receive files via the live chat widget to better understand your customers.
Support and agent ratings – get a better understanding of visitor satisfaction by allowing them to rate a chat during or after the live chat session.
Visitor tracking – our live chat widget keeps track of your customers’ location and shows what page they are on, where they are from, and more.
Ticket form – collect the tickets with messages that customers leave when you’re away and answer them when you’re back online.
Chat surveys – add surveys to the live chat window and gather customer information and insights at the beginning and end of each chat.
Multi-channel communications – provide instant customer service across several channels: a chat widget on your website, Messenger, Apple Business Chat, and more.
Chat log and data exporting – browse through comments reflecting customers’ needs and expectations. Store, access, and export messages at any time using our API.
Mobile apps – chat on the go. Don’t make your customers wait and talk to them wherever you are, thanks to our iOS and Android apps.
Reports and analytics – optimize the communication with your visitors thanks to the built-in live chat and ticket metrics. Access reports through the API and export gathered data to the CSV format.
Chat assignment – assign conversations to the available agents automatically. Alternatively, they can go straight to the queue, and it is up to you and your team to decide when to pick them up.
Tags and keywords – organize and categorize chats to find common issues and questions.
Chat transcripts – browse the conversations reflecting customers’ needs and expectations anytime, with no expiry date.
User groups – group teammates by their expertise and assign the most specialized groups to specific pages, e.g., your sales team can handle chats on your pricing page.
Chat transfer – transfer chats to other agents when necessary. It’s extra handy when you encounter cases that only a particular member of the team can handle.
Sales integration – use our ecommerce integrations to see which sales were assisted by live chat.
To install the EWWW Image Optimizer plugin, follow these steps:
Log in to your WordPress site as the administrator.
In the left-hand pane, click Plugins.
Click Add New.
In the Search text box, type ewww, and then click Search Plugins.
In the Name column, locate EWWW Image Optimizer, and then click Install Now.
Plugin settings page.
Configuring EWWW Image Optimizer
After you install the EWWW Image Optimizer plugin, you can configure it. To do this, follow these steps:
Log in to your WordPress site as the administrator.
In the left-hand pane, click Settings, and then click EWWW Image Optimizer. The EWWW Image Optimizer Settings page appears.
Review the settings on the settings page, and then click Save Changes.
Optimizing existing images
By default, the EWWW Image Optimizer plugin optimizes any new images that you upload. You must manually optimize existing images, however. To do this, follow these steps:
Log in to your WordPress site as the administrator.
In the left-hand pane, click Settings, and then click EWWW Image Optimizer. The EWWW Image Optimizer Settings page appears.
Click the Bulk Optimize link.
Use the Choose how long to pause between image slider to select an interval (in seconds) between each image optimization.
Under Optimize Media Library, click Start optimizes. EWWW Image Optimizer provides progress updates as it optimizes images.
To optimize additional image files, such as those in themes and other plugins, click Scan and optimize.
To view which files have been optimized, click Show Optimized Images.
Why use EWWW Image Optimizer?
No Speed Limits and unlimited file size.
Smooth Handling with pixel-perfect optimization using industry-leading tools and progressive rendering.
High Torque as we bring you the best compression/quality ratio available with our Premium compression for JPG, PNG, and PDF files.
Adaptive Steering with intelligent conversion options to get the right image format for the job (JPG, PNG, GIF, or WebP).
Free Parking The core plugin is free and always will be. However, our paid services offer up to 80% compression, and a host of other features!
Comprehensive Coverage: no image gets left behind, optimize everything on your site, not just the WordPress Media Library.
Safety First: all communications are secured with top SSL encryption.
Roadside Assistance: top-notch support is in our DNA. While API customers get top priority, we answer every single support question with care.
Pack a Spare: free image backups store your original images for 30 days.
In every Website, you will see a Contact Page there. For that most of users use Contact Form 7.
How if your contact Form’s data directly saved in your Google Sheet? Isn’t that Amazing? Yes, it is possible with CF7 Google Sheet Connector Plugin.
Here is a brief view of How to deal with the CF7 Google sheet Connector.
For that, You need to install Contact Form 7 plugin to your website. After that create a simple contact form in that. After created that form you will see a shortcode on that page. Just copy that shortcode and paste into your Contact page of your website. Now you will see a Contact Form on your Contact page of your website.
Installation of CF7 Google sheet Connector Plugin
Here the main part is coming. Now you have to install CF7 Google sheet Connector Plugin to your site.
After that, you need to get access from Google to proceed further. For that, you need to Get Access code from Google and paste it here and then click on save.
Create a Google Sheet
Now make a Google sheet with name Contact Form 1 (you can save as per your need).Give name demo to Sheet tab name(you can give it as per your need).
In this sheet, you have to give field names as per your contact form fields. Make sure to write the correct field name just the same as your contact form have.
Now go to Google sheet tab into contact form menu. And give the exact name of Google sheet Name and Google Sheet tab name as per your Google sheet.
That’s it… Yes..!! It’s Done. Don’t you think it’s too easy?… Now you can enter data in your contact form of your site and it saves in your google sheet automatically.
It can be more easy With Google sheet connector Pro.
Elementor is a WordPress page builder that has overwhelmed WordPress web design by storm. It has the deepest feature set, yet is very easy to use and master. Elementor is the most full-featured free page builder.
Thinking about utilizing Elementor on your site? In our hands-on Elementor review, we’ll give you a detailed look at this popular WordPress page builder and whether it’s ideal for you.
Since its launch in 2016, Elementor has quickly gone on to become one of the premier WordPress page builder plugins, active on over 5+ millions WordPress sites according to WordPress.org.
To give you a good look at this tool, we’ll divide our Elementor review into two sections. You’ll get a detailed look at:
The core functionality in the free version that’s available at WordPress.org. Without spending a penny, the free version already lets you do some pretty cool things.
Elementor Pro. With the paid version, you can build popups, add forms, and design your entire theme using the same drag-and-drop Elementor interface from the free version. Yeah, it’s pretty powerful…
If you’ve already played around with the free version at WordPress.org, you can jump straight to our Elementor Pro review. Otherwise, keep reading to start with a look at the free core version at WordPress.org…
Summary
This is by far our favourite WordPress Page Builder in 2020. The thing we like most about Elementor right now is the team behind the plugin. While there are now dozens of WordPress page builders to choose from, the team behind Elementor have been rapidly enhancing the plugin to be superior to any other Page Builder in just about every way possible.
Whether you are out to create your own website, or you are a front-end web designer by profession, creating a website is, at its essence, a very arduous process with many steps and rules that could discourage even the most enthusiastic individuals from exploring it. In an effort to make web design much faster, easier and more intuitive than it ever was, a WordPress plug-in called Elementor was created during the year of 2016.
A user-friendly interface and a very active community have made this one of the best web page building tools available on the internet today. This would allow you to create engaging, responsive and modern looking web pages or blogs, without having any coding skills whatsoever. Not even a basic understanding of HTML and CSS is required! If you would like to build a beautiful page with minimal effort, the Elementor page builder is going to be right up your alley.